DIY Travel Ironing Board
Do you ever go to a sewing retreat or sewing class and have to wait for the iron station? Do you have or are willing to buy a little travel iron? Then no more waiting on the iron! I can show you how to make a travel ironing board with things you might have lying around your house in a few simple steps!
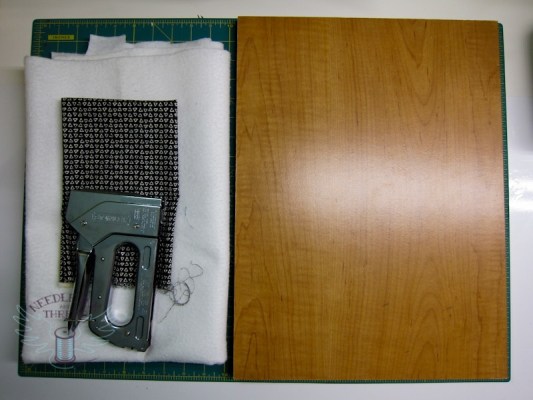
Materials to Collect for the Travel Ironing Board
- A piece of wood
- This can be an old entertainment center shelf or even from a bookcase, an old wooden puzzle or the top of a wooden tv tray!
- Staple Gun & Staples
- One fat quarter of 100% cotton (2 for optional lining)
- 100% cotton batting
Let’s Create!
Step 1 – Collect your supplies.

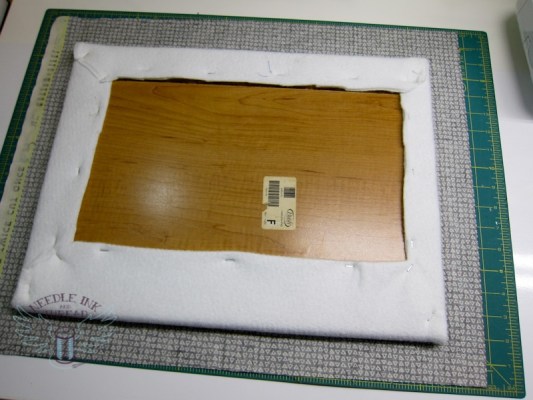
Step 2 – Take your recycled wood and cotton batting.
Lay the cotton batting onto a hard surface; I used 2 layers of 100% cotton batting.
Then set your piece of wood upside down on centered on the batting.
Starting at either the top or bottom, fold the fabric over the edge and staple it in place.
Repeat this on all sides, try to make your corners clean, and cut extra fabric to cut bulk.


Step 3 – Now, take your fabric and do the same, taking care to keep everything tight and wrinkle-free.


Step 4 – You’re done!!! **UNLESS you want the back to look as nice as the front!

Step 5 – *Optional* For a professional finish
Using another fat quarter of fabric, fold the raw edges under the fabric’s wrong side, iron.
Then using the staple gun, attach it to the backside to cover the board completely to finish the back nicely.
You could use flannel on this side and make it a quilt design board!


Now you can use this awesome travel ironing station, take it to your guild meetings, your sewing lessons, or any retreat! This will help you be efficient and quick! Also, this is great to have on your sewing desk for when you are working on smaller projects!
Thank you for reading! Let me know what other tutorials you would like to see!


